
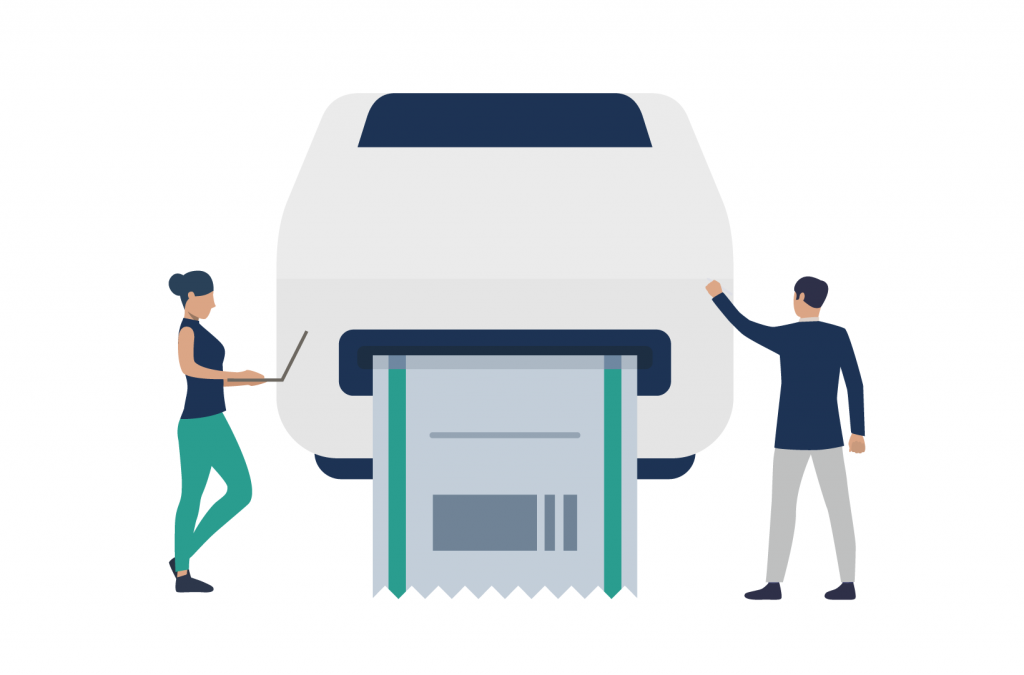
Need to print WooCommerce order receipts quickly and efficiently? A thermal printer plugin for WooCommerce can transform how you handle order processing and customer receipts. The key components you need are simple: a thermal printer and a compatible WooCommerce print plugin that works with your point of sale (POS) system.
Thermal printers are the most common type of printer for point of sale systems. They’re the industry standard for printing receipts, shipping labels, and other documents, and with good reason. Here’s what makes thermal printers different from standard printers for WooCommerce stores:
| Feature | Thermal Printers | Standard Printers |
| Operating costs | Lower (no ink/toner needed) | Higher (regular ink/toner replacement) |
| Print speed | Faster receipt printing | Standard office printing speeds |
| Maintenance | Minimal maintenance required | Regular maintenance needed |
| Size | Compact design | Larger footprint |
| Receipt quality | Specialized for receipts | General-purpose printing |
By default, WooCommerce isn’t set up for printing order receipts, let alone automating the process to make your store or restaurant more efficient. For that, you’ll need a plugin. And if you’re looking to print receipts both for online and in-person sales, you’ll require a plugin that works well with your WooCommerce POS system.
In this post, we show you how to set up automatic receipt printing on a thermal printer using our recommended all-in-one WooCommerce thermal printer plugin, BizPrint, in conjunction with Jovvie, our recommended WooCommerce POS plugin.
Why should you print your WooCommerce order receipts?
Physical copies of receipts are useful in a number of scenarios. They come in handy for some of your daily processes, and also factor into the customer experience. Here’s a look at the benefits of printing order receipts and setting up a WooCommerce POS printer.
Ensure order accuracy
Printed receipts are an easy way for your customers to cross-check the orders they received against the orders they placed at your store or restaurant. A physical receipt is helpful if your restaurant calls customers by number. It also serves as proof of purchase when a customer has to request a return, refund, or replacement. However, since a physical receipt at the POS allows customers to carry out the necessary checks on the spot, issues with the order can be rectified immediately, saving you time and money on returns and replacements.
Improve efficiency
Printing a receipt directly to your warehouse, fulfillment center, or kitchen as soon as an order has been placed allows your staff to process it right away, reducing wait or delivery times for your customers. It avoids the need for manual handling of orders, for example, taking orders over the phone or transferring orders from your online ordering system to a format where your fulfillment staff can start processing them. These benefits are certain when receipt printing is handled automatically In fact, restaurant owners have reported up to 30% increased staff productivity after implementing an automatic receipt printing system.
Include branding and collect digital feedback
People will review the printed receipts you hand over. As the receipts will have your customers’ attention, you should use the opportunity to add your logo, slogan, or QR codes that they can scan to access a survey and provide their feedback. As a professional-looking receipt will create the right impressions about your business, it’s worth setting up a WooCommerce POS printer.
Why should you use a thermal printer to print your WooCommerce order receipts?
Thermal printers are the industry standard for receipt printing in retail stores, restaurants, and other service industries. They’re preferred by store owners and should be your choice of WooCommerce POS printer for the following reasons:
- Cost-effective: Thermal printers are much cheaper to run than digital models as they don’t require expensive ink cartridges.
- Easy to maintain: As thermal printers are typically much smaller and have fewer moving parts than digital printers, they are less prone to break down as well as easier and cheaper to maintain.
- Fast order processing: Thermal printers work much faster than digital printers, meaning that you can process orders more quickly and not keep your customers waiting.
- Smaller footprint: As thermal printers are typically much smaller than digital printers, they naturally take up less space, which makes them the obvious choice for a cramped kitchen or warehouse office.
How to choose the right thermal printer for WooCommerce
When selecting a thermal printer for your WooCommerce store, consider these key factors:
Business size and print volume: Small businesses might start with a basic thermal printer that handles standard receipt sizes. Larger operations typically need more robust models that can handle continuous printing throughout the day.
Compatibility
Look for printers that:
• Support standard ESC/POS commands.
• Work with your chosen operating system.
• Connect via your preferred method (USB or network).
Setup considerations
• Install printer drivers before connecting your hardware.
• Test print speeds with your typical order volume.
• Verify compatibility with your WooCommerce POS system.
BizPrint supports major thermal printer brands, making setup straightforward regardless of your chosen model.
How do you print order receipts in WooCommerce?
WooCommerce doesn’t have built-in support for printing receipts, but there are thermal print plugins available that make the process straightforward. We recommend BizPrint, an all-in-one automatic printing solution that enables you to print a wide variety of documents required throughout the order fulfillment process, from invoices to shipping labels, packing slips, and more.
BizPrint has a number of features that make it superior to other WooCommerce receipt printing solutions:
Auto-printing functionality
BizPrint enables you to automatically print receipts the moment a new order is placed, removing the need for manual order processing. Power users can take customization one step further with BizPrint’s dedicated mapping add-ons that enable automatic printing of order receipts to specific printers based on the products ordered, the delivery or collection address for the online order, or the shipping method chosen.
Works with all printer models
The receipt printer plugin works with all printer models, including all major brands of thermal printers such as Epson, Star, and Zebra. You don’t need to invest in new hardware to start printing order receipts right away.
Creates branded receipts
The WooCommerce POS thermal printer plugin comes with a variety of customizable templates that allow you to include any extra information about your business on your receipts and other documents. Add your logo, include details of any upcoming promotions, or include a tracking barcode so that shipping companies can provide updates to your customers during the delivery process.
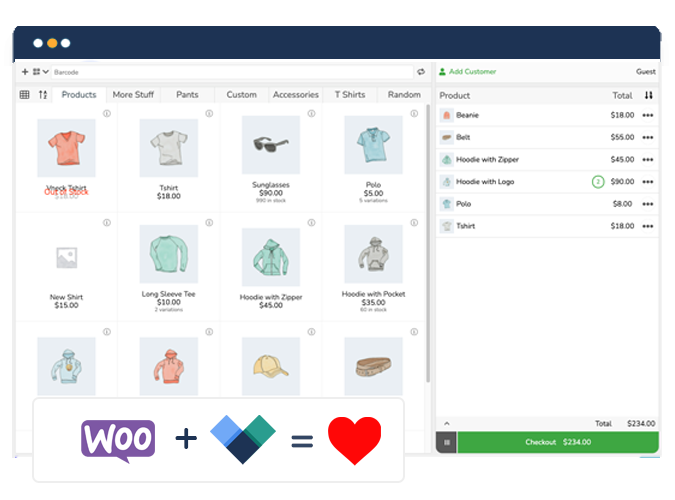
Integrates seamlessly with your POS system
BizPrint will work well with whichever WooCommerce POS system you choose to use, but has particularly tight integration with its sister plugin, Jovvie. Jovvie sets your restaurant or store up for a smooth sales experience whether you are selling online, in-store, or on the go. You can synchronize your inventory between online and in-person sales to maintain an accurate picture of stock at all times.
Jovvie works with your existing devices – any computer, tablet, or iOS or Android phone is compatible – and also supports barcode scanners and multiple card readers. These features and more make Jovvie the ideal POS solution for your restaurant or store.
★★★★★ RATED 4.9/5 BY 5,000+ WOOCOMMERCE STORES
Sell anywhere. Sync to WooCommerce instantly.
Your retail counter, your tradeshow booth, your next pop-up — Jovvie is the only POS built natively for WooCommerce. No duplicate inventory, no failed syncs, no middleware.
How to print WooCommerce orders on a thermal printer – Step-by-Step Method
Here’s a quick tutorial on setting up a WooCommerce POS printer for automatic thermal printing using Jovvie and BizPrint.
1. Install and set up the plugins
In a few steps that are easy even for non-technical users to follow, you can add both WooCommerce plugins to your online store.
Jovvie set-up
Jovvie is available as a cloud-hosted and self-hosted plugin. An in-depth quick-start guide is available to get you set up in minutes, but we’ve also included the main steps below:
a. Download the Point of Sale API connector plugin and (if you have opted for the self-hosted version of Jovvie) the Point of Sale WP UI self-hosted plugin.
b. Upload the plugins you’ve downloaded on your WordPress dashboard.
c. Enable cloud or self-hosting.
d. Access a POS station.
BizPrint set-up
As with Jovvie, a full BizPrint set-up guide is available, the main steps of which we have outlined below:
a. Create your BizSwoop account.
b. Set up a printer station.
c. Download BizPrint on your Windows, Mac, or Linux desktop or laptop.
d. Connect your WooCommerce website with the WordPress Print Manager plugin.
e. Add printing locations (your store POS/kitchen) and select printers.
2. Customize your receipt template
One of the advantages of using BizPrint and Jovvie to create your WooCommerce POS printer is the level of customization available for your store or restaurant order receipt. The order receipt template is a default template with the plugin, and includes the details of a WooCommerce order.
The branding elements you can add to your order receipts are your logo, company name, company information, order details, and footer information, such as a line on leaving customer feedback or a company policy.
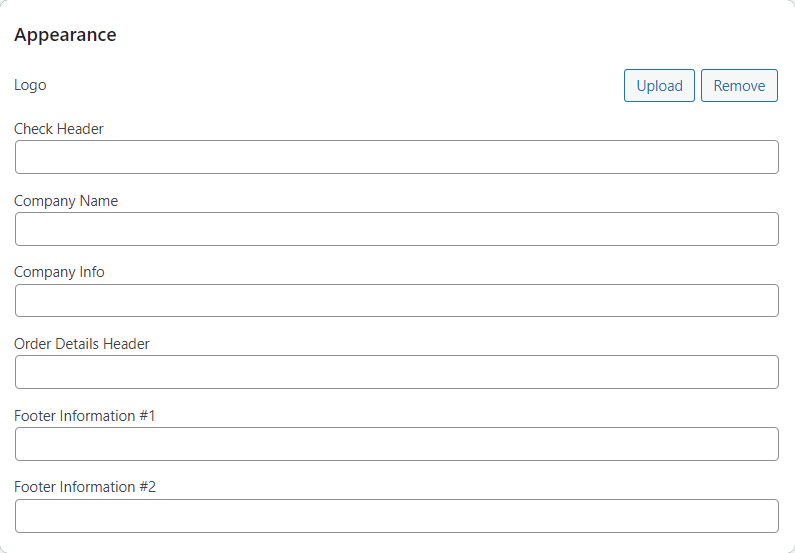
BizPrint generates professional-looking order receipts, capturing information from your WooCommerce orders and ensuring a consistent look across all receipts.

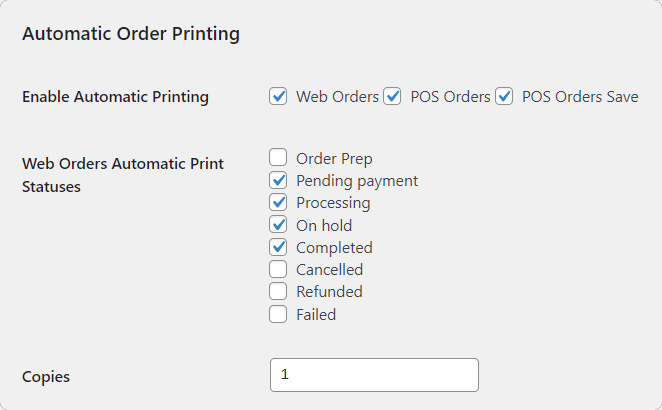
3. Set up auto-printing of receipts
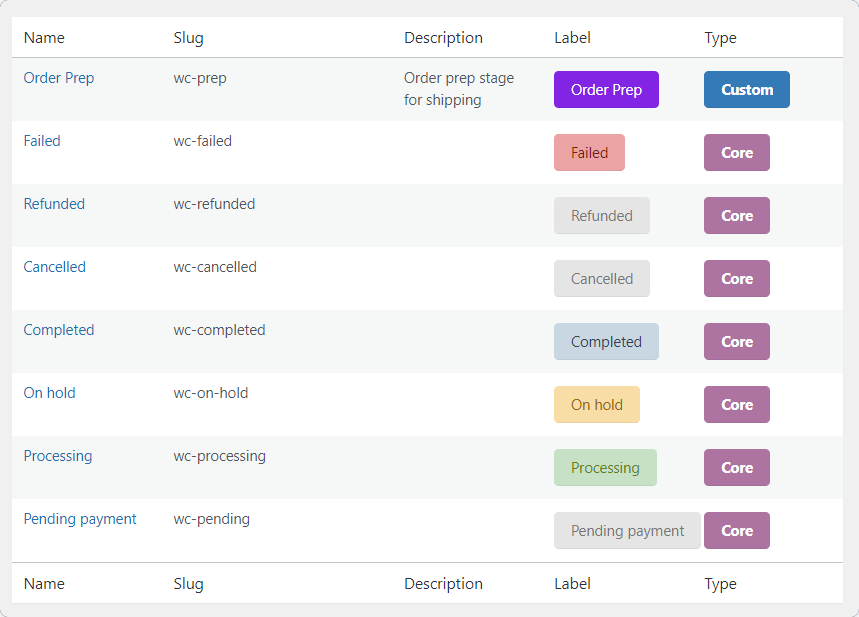
Automatic printing with BizPrint is triggered by order status. When a new order is placed at your WooCommerce store, it is automatically tagged as ‘Processing’, and automatically printed as a physical copy at the designated printer.
You can change the trigger to auto-print receipts for another order status. You can also specify the number of print copies per order. For example, you can specify two copies for printing at your WooCommerce POS printer if you need to keep one for yourself and hand the other out to the customer.
SMS notification surveys show that customers like to receive SMS updates on order status and confirmation. You can enable this functionality using Flow Notify, another BizSwoop plugin.

Flow Notify allows you to set custom WooCommerce order statuses, and triggers SMS text messages, emails, and WhatsApp notifications from the statuses you select.
Troubleshooting your WooCommerce thermal printer setup
Common challenges you might face when using a thermal printer with WooCommerce – and how to solve them – include:
Connection types
Understanding whether USB or network connectivity better suits your setup is crucial. USB connections work well for single-station setups, while network printing offers more flexibility for multiple locations.
Print management
Managing your print queue effectively helps prevent delays and ensures orders are processed in a timely manner. BizPrint’s automatic printing functionality helps streamline this process.
Print quality
Following your printer manufacturer’s recommended maintenance schedule and paper storage guidelines helps ensure consistent, professional-looking receipts for your customers.
Your WooCommerce POS printer can be ready in minutes
It’s worth adding receipt printing functionality to your WooCommerce store for order accuracy, greater efficiency, and a branding boost. When it comes to printer type, a thermal printer is the go-to for its affordability and low running costs. To enable printing functionality, BizPrint is the best solution – here’s a recap of how it can add value to your eCommerce business:
- Auto-printing makes your order fulfillment process more efficient, helping ensure that your customers aren’t kept waiting to get their order receipt at the POS.
- BizPrint works with all printer models, so you can be confident your existing thermal printer will be compatible with the plugin.
- The thermal receipt printer comes with customizable templates for all kinds of different documents that are key to the order fulfillment process, providing a flexible printing solution for any WooCommerce store.
- BizPrint integrates tightly with Jovvie POS, our recommended WooCommerce POS solution.
Flexible pricing plans allow you to access BizPrint no matter what your business size, and to easily scale your printing needs with business growth. Get started today and offer high-quality printed receipts directly at the POS in a matter of minutes!

★★★★★ RATED 4.9/5 BY 5,000+ WOOCOMMERCE STORES
Sell anywhere. Sync to WooCommerce instantly.
Your retail counter, your tradeshow booth, your next pop-up — Jovvie is the only POS built natively for WooCommerce. No duplicate inventory, no failed syncs, no middleware.