Step 1: Download the Latest POS Plugin for WooCommerce
Don’t Worry. It’s a Free download!
DOWNLOAD NOWStep 2: Login to WordPress Admin Dashboard
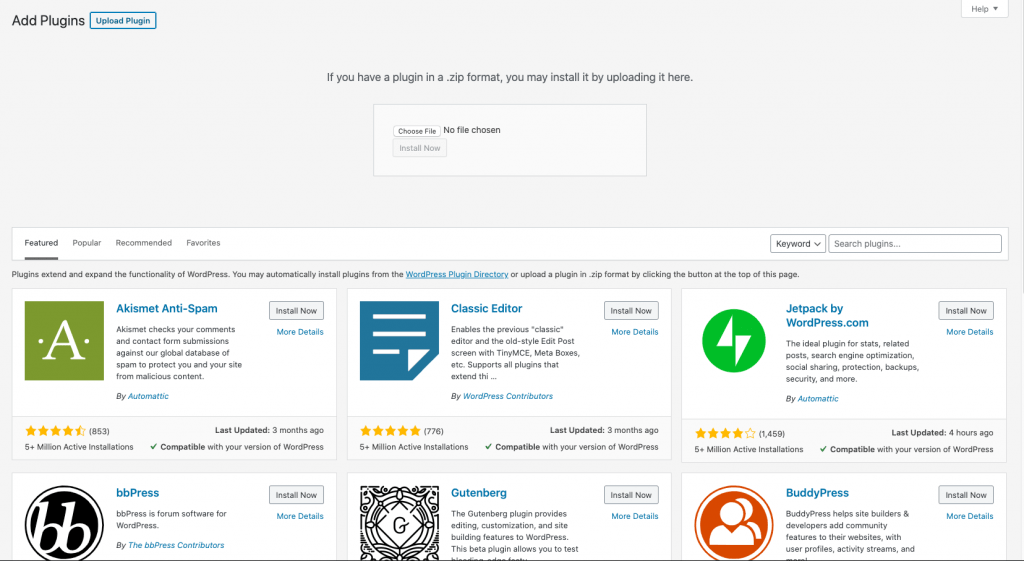
Step 3: Click Plugins Menu Option
Step 4: Click Add New
Step 5: Click Upload Plugin

ℹ️ Did you know? Included in the trial is a FREE setup, our team will access your WordPress site, install and activate the Jovvie POS for you.
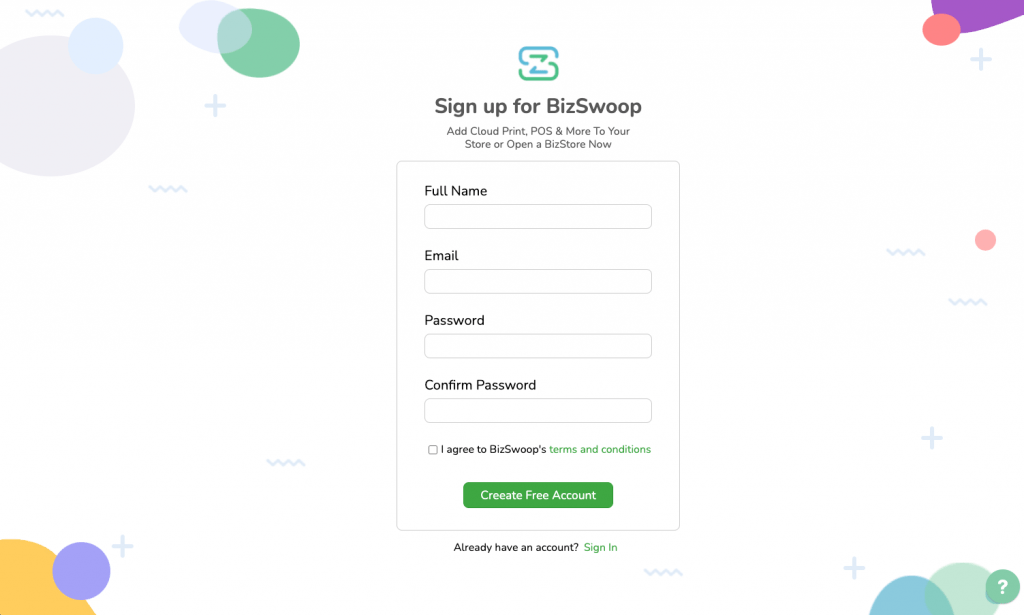
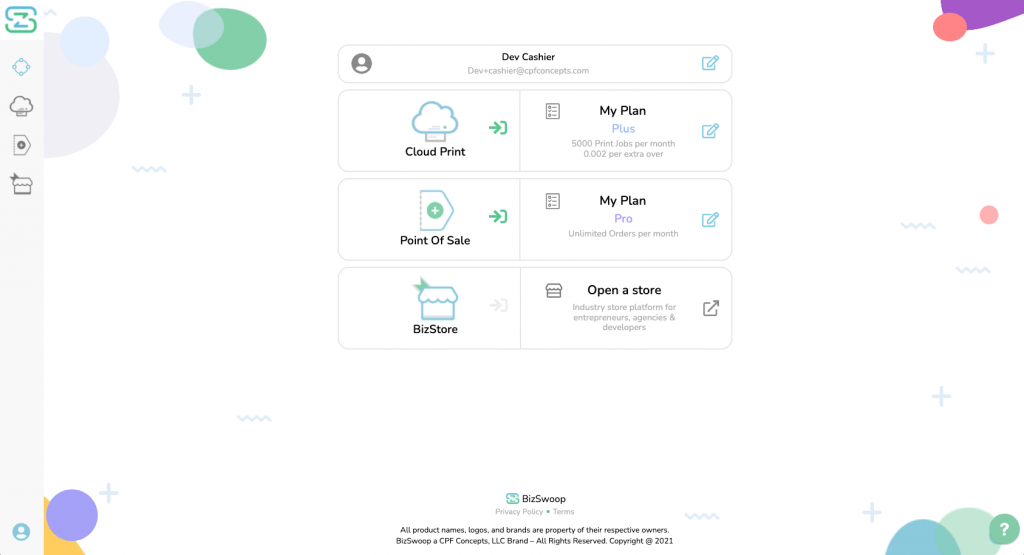
To access Jovvie, you need a BizSwoop Single Sign-on Account. No credit card or payment information is required sign-up.
After registering, an activation email will be sent to the registered email address.
Clicking on the link activates the account. After account activation, login to account.
*Remember to check Spam folder for activation email from no-reply@login.bizswoop.app
*BizSwoop Account Sign-in Required
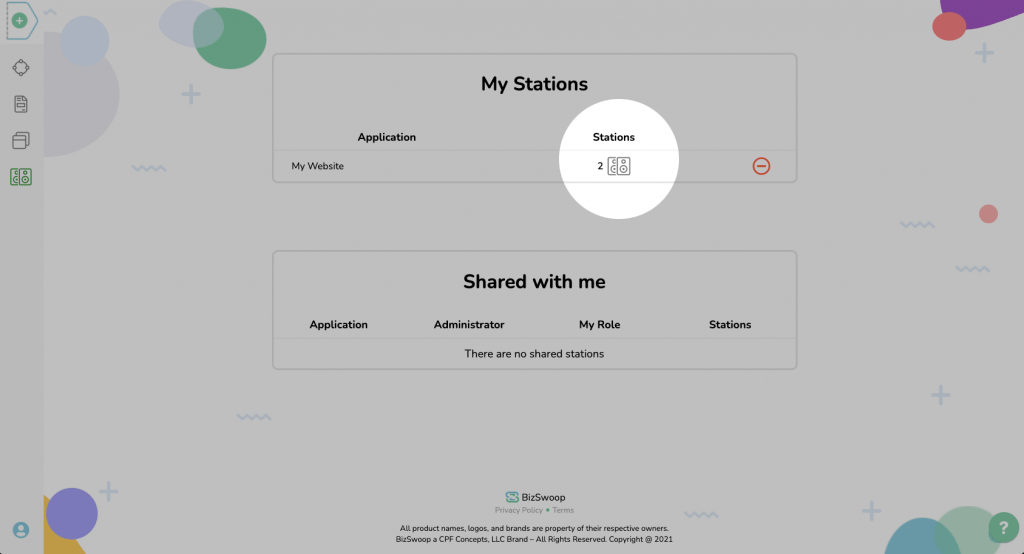
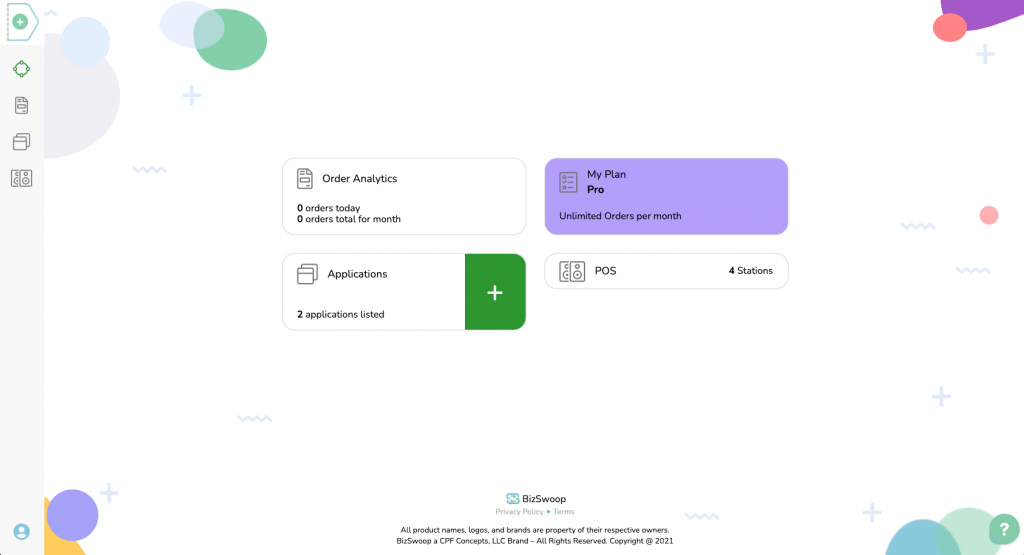
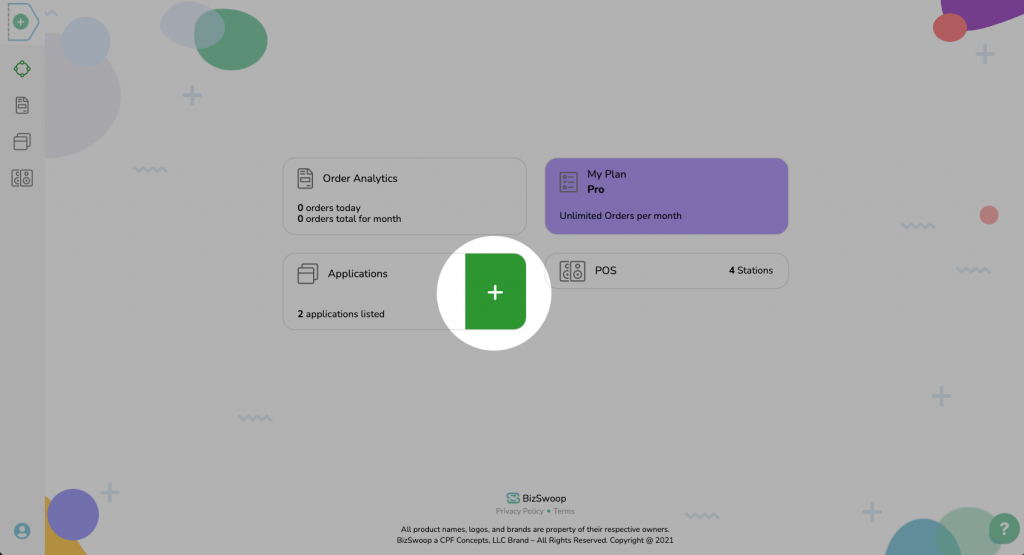
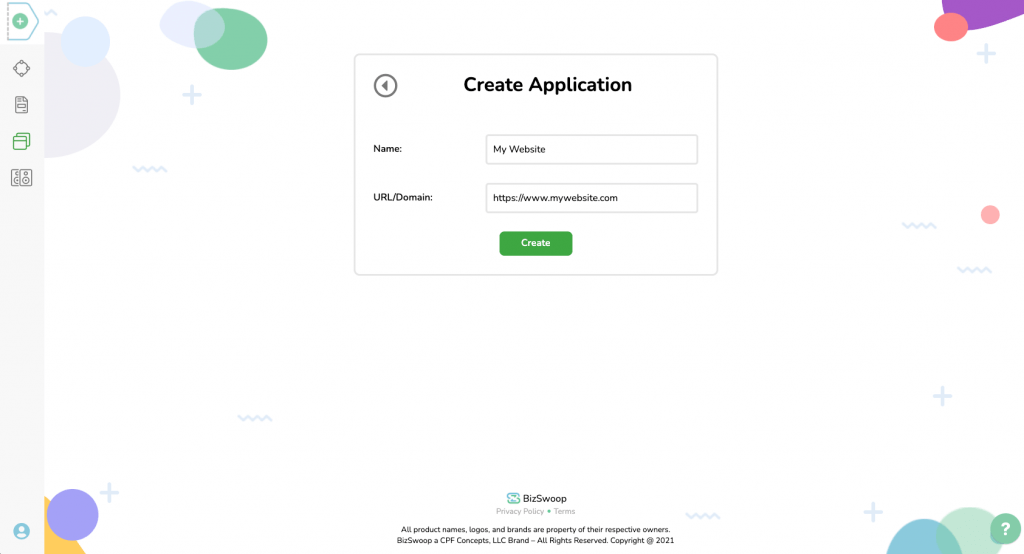
POS Cloud DashboardThe POS Cloud Dashboard provides access info like number of orders, connected stations and connected websites.
Include the full URL with https:// to establish a secure connection between your site and the cloud.
Don’t Worry. It’s a Free download!
DOWNLOAD NOW
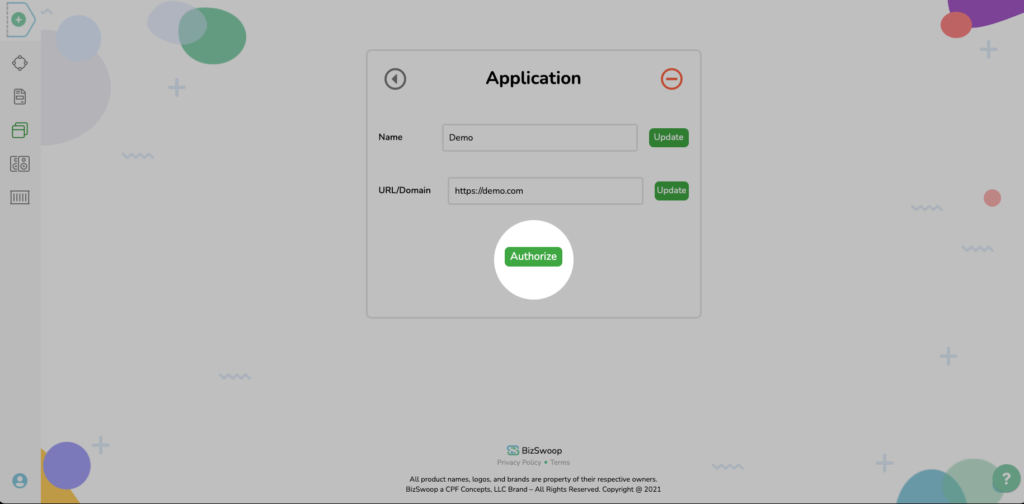
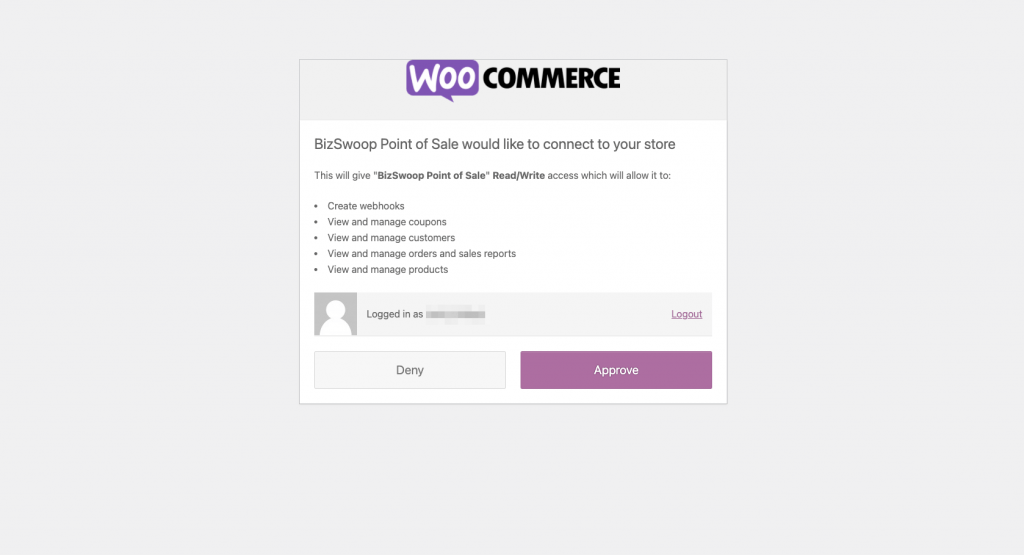
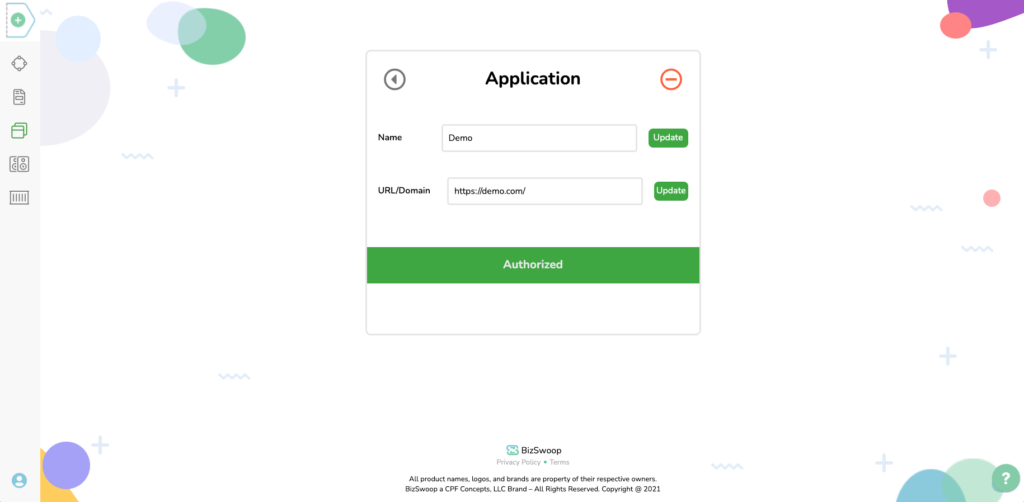
Clicking ‘Approve’ allows the POS Cloud to connect with your website. The POS Cloud will need access to the WooCommerce API to read and write orders created in the Cloud for your website.
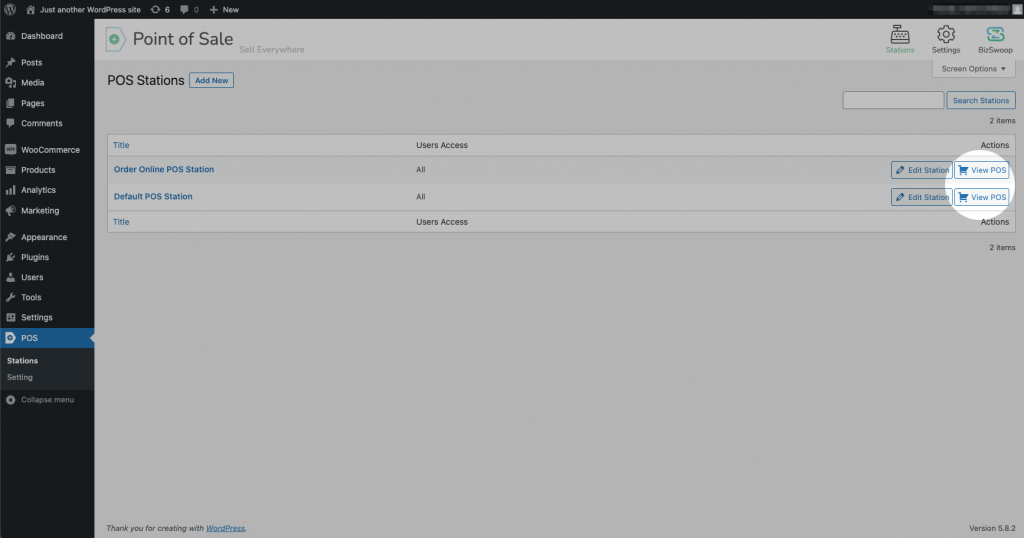
Now you can start using the POS with your WordPress Website
Important: If you receive the User Assignments Error message, as shown here:
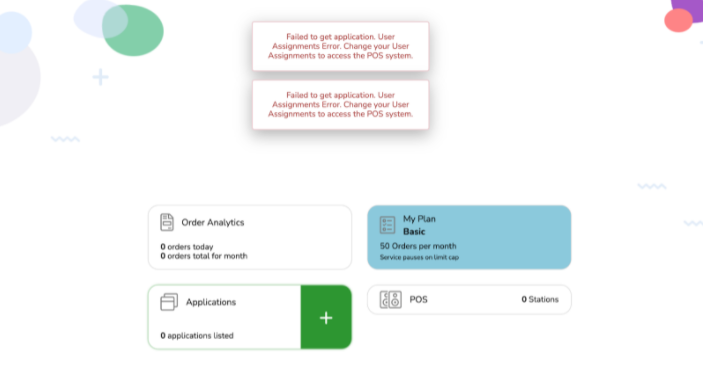

Assign Users: To resolve the error. Go to WordPress Admin, Click POS > Settings > Users. From the managers option, drop down and select the user logged into the Point of Sale cloud account
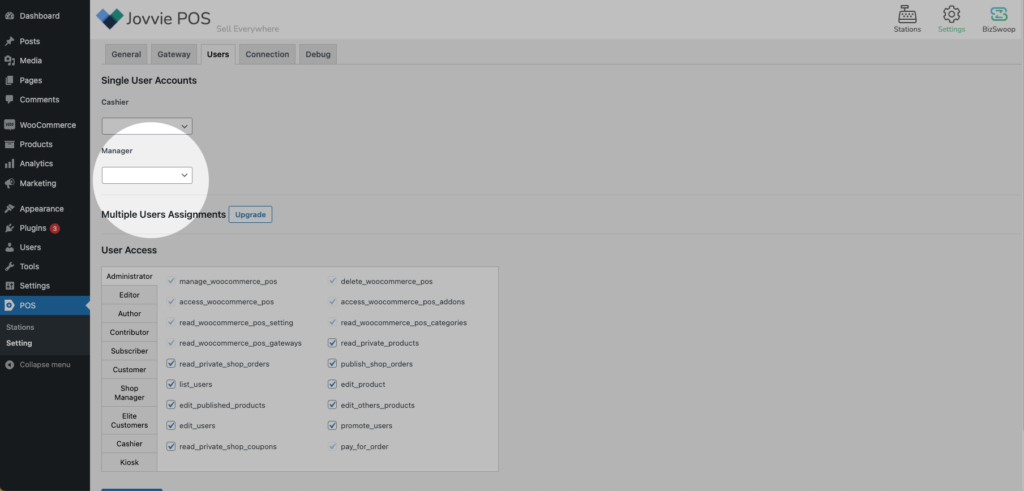
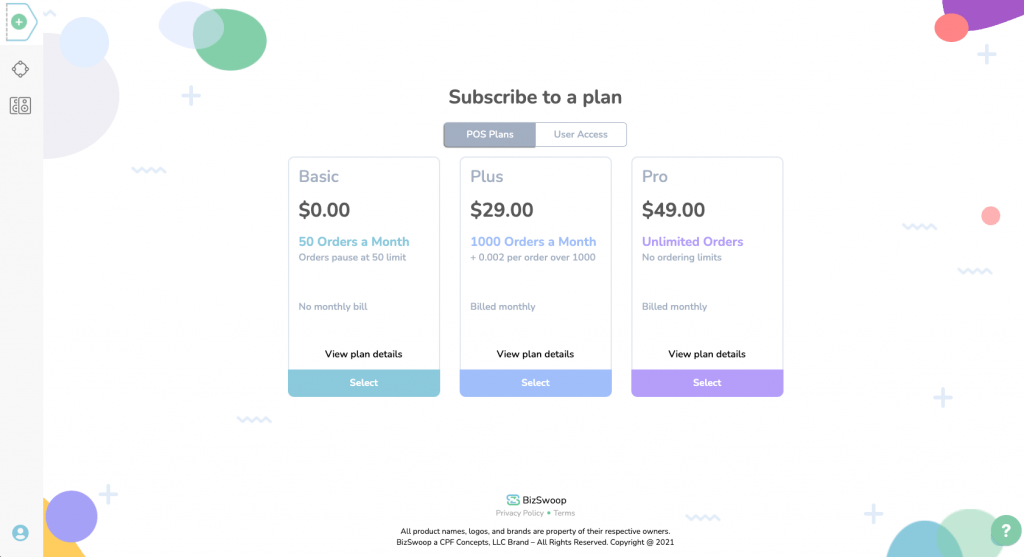
NOTE: Unlock Unlimited Users by upgrading to the Plus plan or higher


Happy Selling.
If you have additional questions or need more help setting up Jovvie for your business.
*All product names, trademarks and registered trademarks are property of their respective owners.